
To be blunt, I'm far to be satisfied by the results for many reason I'll take a few minutes to explain. This isn't what I'm looking for at all and it doesn't fit Temiscouata pictures.
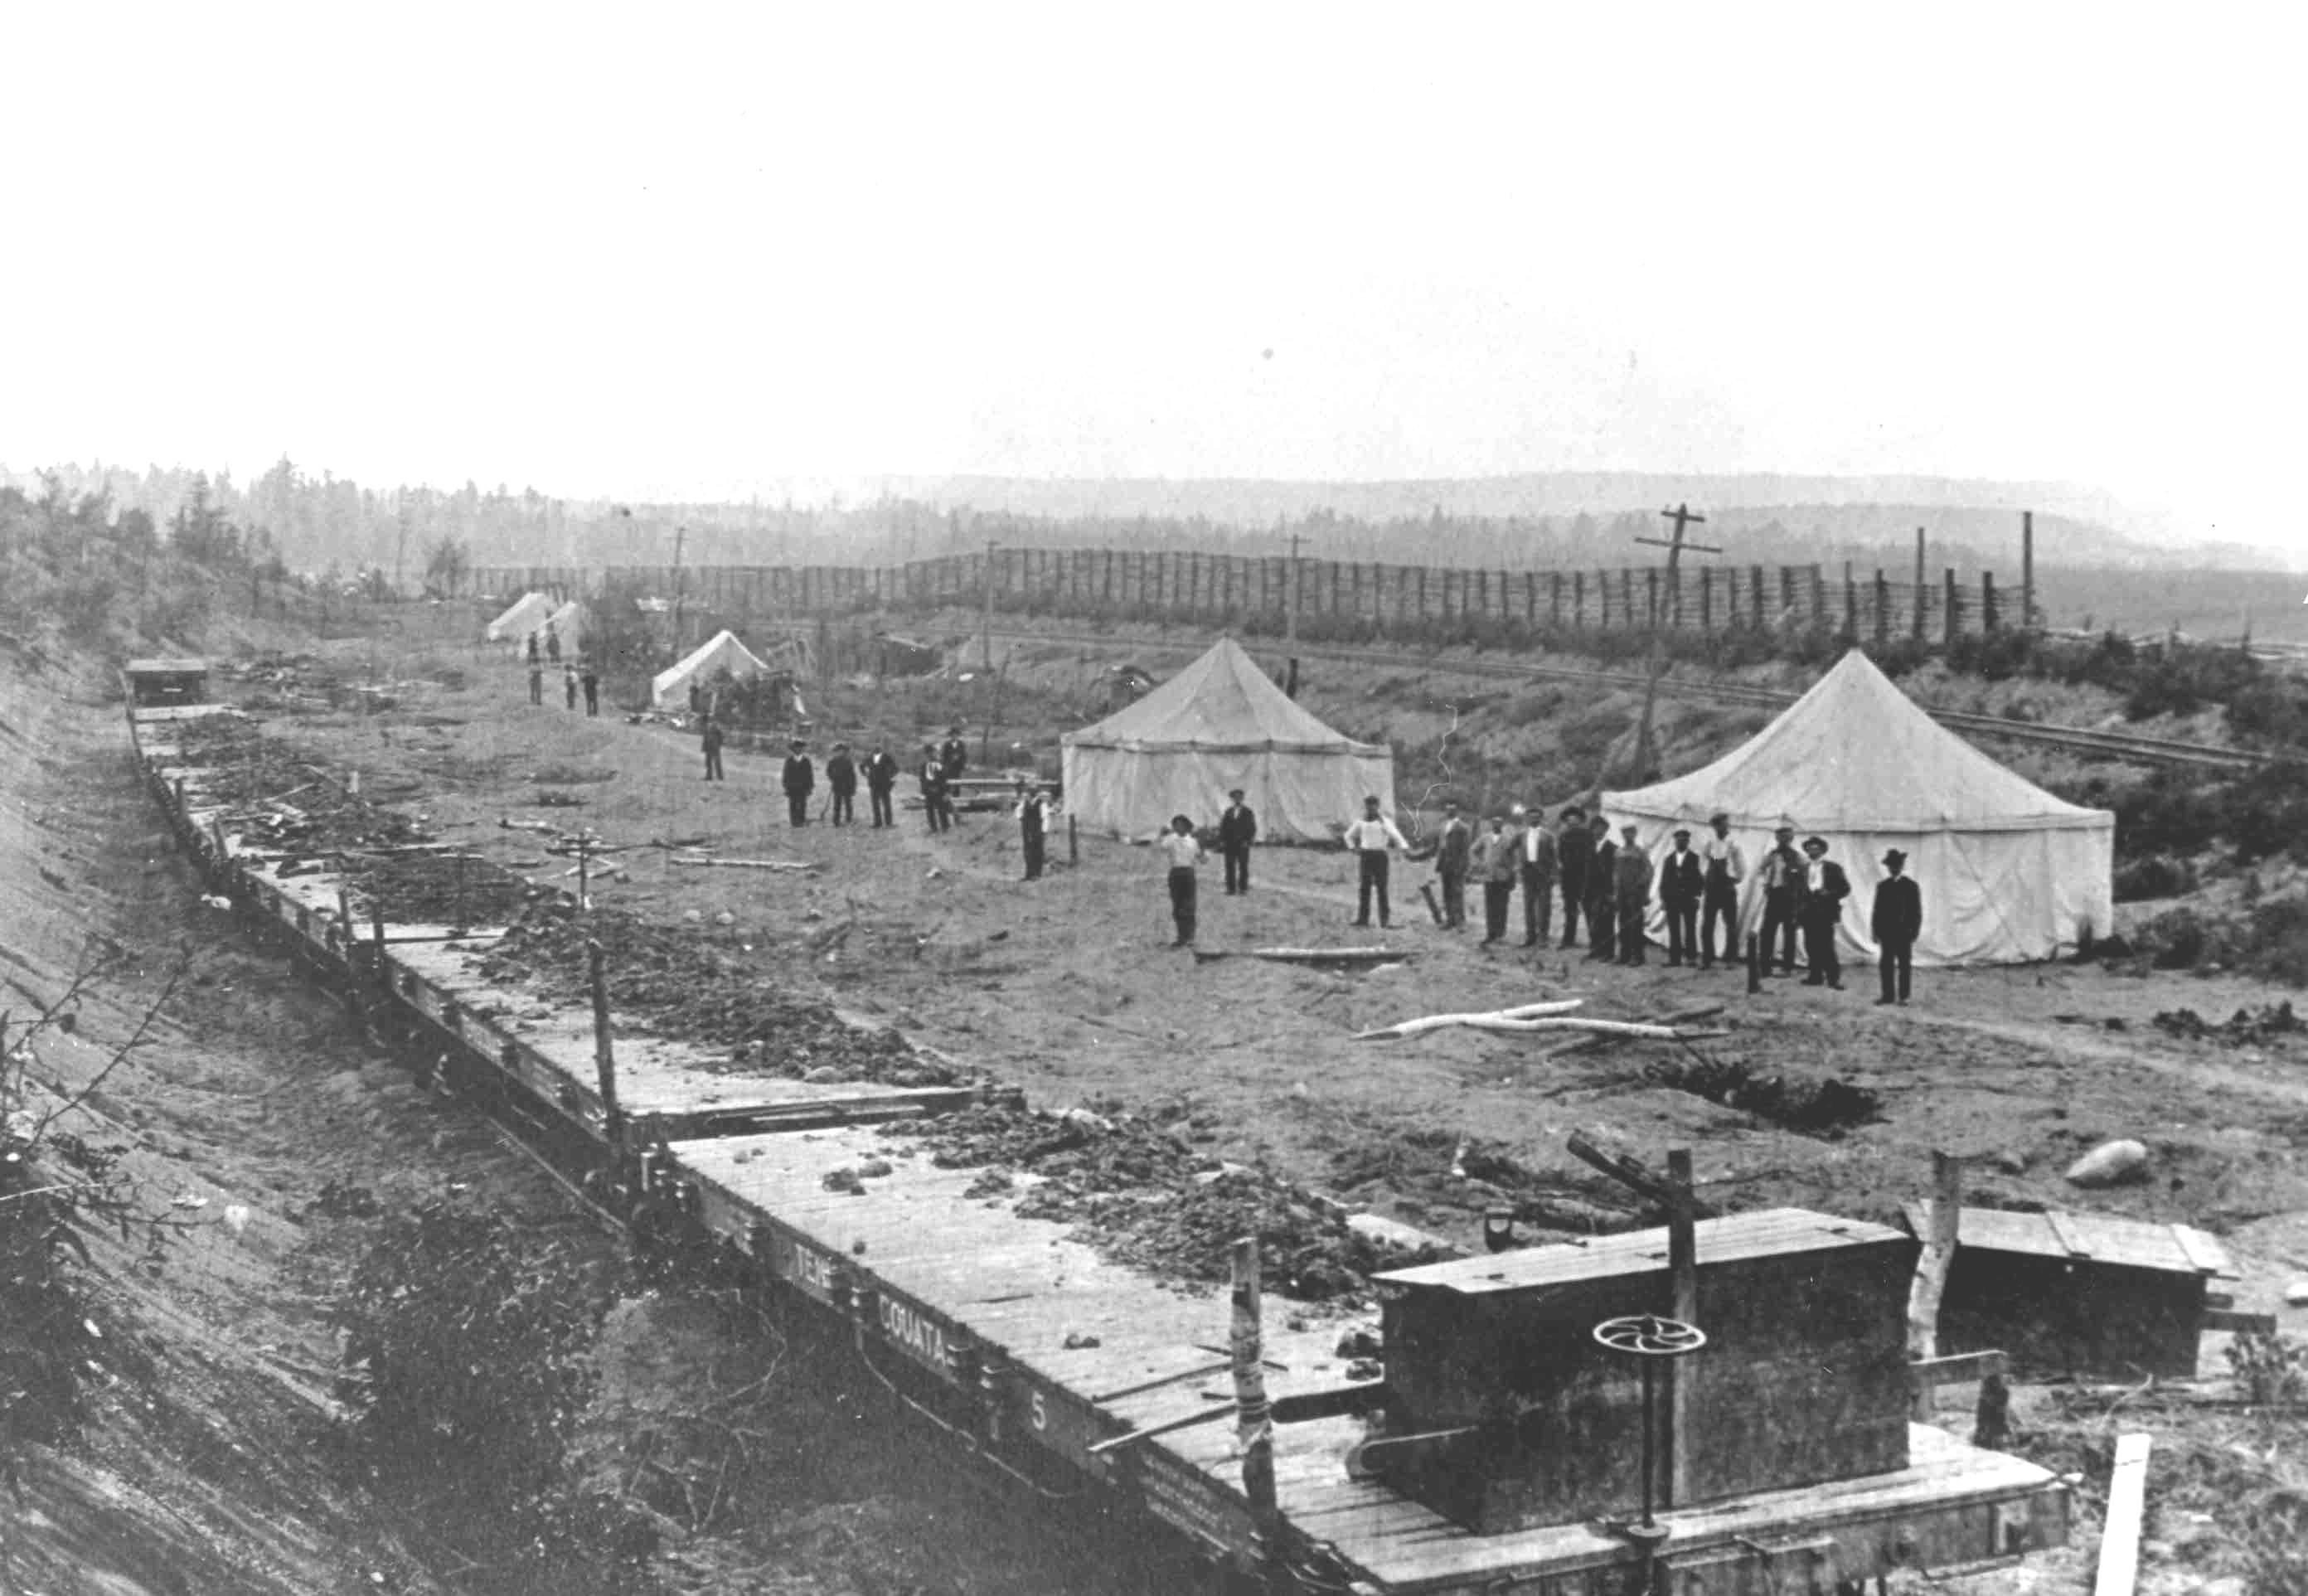
Let's talk about the prototype. On all picture, there is virtually no roadbed. The track is at ground level except when topography required a fill, an embankment or cut. The very notion of ditch seem to have been highly ignored by Temiscouata Railway. The ballast isn't ballast as I suspected. It is nothing more than earth and dirt. Very fine dirt in fact and exactly the same that can be seen on adjacent lots. When you look at this picture of a construction train back then, you can clearly understand anything goes on.
 |
| Temiscouata Railway construction crew (credit: UMCE) |
Let's take a look at the prototype ballast before analyzing my test. The first picture was shot at Rivière-du-Loup with the glamourous Madawaska business car (which I'd like to reproduce). The ballast is plainly dirt.
 |
| Rivière-du-Loup station (credit: Musée du Bas-Saint-Laurent) |
 |
| Cabano station (credit: Musée du Bas-Saint-Laurent) |

First, my ballast is too coarse compared to the prototype. Given the ties are roughly 9 inches wide, it means some rocks are about 3 inches in diameter, which is clearly too big. It doesn't look like earth to me.

Another problem is the ballast "powder. that gets into the distressed wood grain, killing a good deal of the effect by making the cracks look whitish.

I tried to remedy to that problem by cleaning some ties and applying another light coat of alcohol and India ink. The improvement isn't that much great.

Finally, I put too much ballast, even if I tried to not bury the ties. The big problem is that ballast get caugh under the rails which kills the effect of "floating" rails so typical on Temiscouata.
Also, I'm not too sure about the ballast coloration. It is far too gray to my taste. I believe it should be a little bit browner, maybe slightly tan. I'm not sure. Should there be more contrast between the ties and ballast? I'm not sure either. Maybe the soil should be slightly darker to make the greyish and decaying ties pop out? Or maybe the ties should be a little bit more brown/tan. I say that because I've just looked at some old color slides from QRL&PCo - namely an old stub switch - and the ties are squared logs and seems untreated and they have a nice golden coloration... very similar to what Bernard Kempinski does. I think he was right!
At this point, I'm alsolutely open to any suggestion to improve the look. Meanwhile, I've ordered some supplies including rails, ties and spikes. As you can see, my glued rails popped at the first occasion, but it's because ofo that I was able to discover ballast gathered under the rail.
This brings another set of question. Should the ties and ballast be placed before laying rails? Or should the final distressing should be done AFTER ballasting and before laying track, making sure the ballast wouldn't fill the cracks? The answer will probably be got by laying a few other test tracks and trying each techniques. My biggest concern would be for turnout...
Also, I think I'll have to make the tie edges rounder to better represent half-sawn logs.
You can remove the dust by washing the ballast. Put it in a container, held at 45 degrees, under running water. The small size of the dust particles will get drawn into the surface tension of any bubbles, and as the water overflows the rim, will wash away. If you have a mental image of panning for gold, you are not far wrong.
ReplyDeleteTo control the size, you need to find a sieve with the right size of holes. Get a piece of wire of the maximum diameter, say 1/32" or 0.8mm, and go shooping in kitchenware, hardware and ironmongery stores, prodding to see if the wire just passes through the mesh, until you find one that is just so.
Back at home, anything which falls thorough the mesh is not too big. Anything which doesn't can be saved for other uses.
You might get strange looks when prodding sieves with a piece of wire. Ignore them, or explain that you are a railway modeller...
Simon
Simon, I already have many fine sieves, but I used to save what went through the mesh... which explain why it was full of very fine particules. That stuff is good for roads and gravel lots, but not really for ballast. I'll do some other tests and try clean up the ballast, it should help a lot.
DeleteLast night I found (on-line, in the UK) a sieve for applying enamel powder when making jewellery. It has a 200 mesh, which scales out at 1.75" for S, which is perfect for screening out large particles when sue wing ballast. Washing away the dust, and maybe finding a finer sieve to get rid of tiny stones, provides me with an excellent solution should I ever model top grade track!
ReplyDeleteSimon
Sounds good to me!
DeleteIn my handlaying track experience, I've found it easiest to glue ties and ballast before spiking rail. this allows you to glue the ties, lightly sand them, then ballast, and another light sanding (to knock off the ballast that errantly got on top of the ties) and then you can start the gandy dancers to work laying the rail!
ReplyDeleteI find that handlaying track allows great flowing lines, and it's in my budget!
Kris Krengel
Hello Matthieu I came across your blog while researching Temiscouata locomotive # 1. The second # 1. Actually I was researching Maritime Rly # 10. The Maritime Rly was a 12 mile coal line in Nova Scotia that operated the former Temiscouata # 1 as their # 10 from 1951 until the line closed in 1961. I have some great photos of the locomotive in its latter days before it found the cutters torch.
ReplyDeleteThe #10 hauled a special excursion train on Sept 23, 1961 that was sponsored by the Canadian Railway Heritage Assoc. in order to finance the purchase of Maritime Rly # 5 which now sits proudly at Expo Rail Museum in St Constant/Delson Quebec.
How are you coming with your model of the locomotive? Have you ever found a photograph of the #1 in it's early days at Temiscouata? If you want any information on the locomotive during its 10 year stay in Nova Scotia please don't hesitate to write me back. All the best in your modeling and I hope the locomotive turns out great. Regards, Dara Legere
Hi Dara, I've never seen any picture of Temiscouata's second #1. On the other hand, I've seen pictures of the first #1 when it was meeting the torch at Davies Shipbuilding in 1927. Feel free to contact me at matlac@gmail.com to share some informations.
DeleteI have not yet started modelling any locomotive at that point. The layout room hasn't been built yet and I have a lot of work to do on the club layout at that point. And to be honest, I'm not yet sure which locomotive I'll model at this point. On the other hand, I have a few HO scale 4-4-0 and 2-6-0 that I wouldn't mind bashing into Temiscouata engines for fun. It would be good practice before trying my hands at S scale.